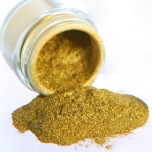
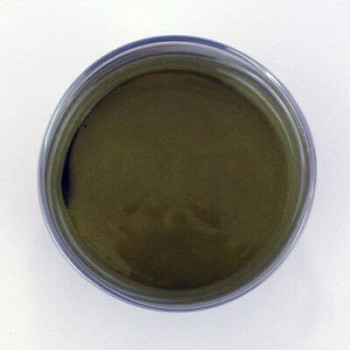
Nickel YSZ Anode Ink (NiYSZ)
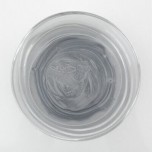
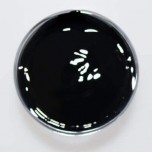
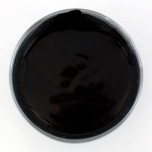
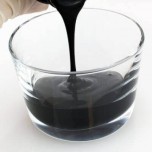
Nickel YSZ Composite Anode Ink offers good adhesion to the dense electrolyte surface which can enhance your overall cell performance. This ink is made using a high-quality ink manufacturing processes that provide a screen printable ink for easy incorporation into your own cell manufacturing process.
• Formulation: 66% by weight NiO and 34% by weight (Y2O3)0.08(ZrO2)0.92
• Solids Loading: 73 - 77% by weight
• This is a great ink for making anode catalyst layers for SOFC applications.
• Stirring the ink before use is highly recommended. For best results, the ink should be stirred with a spatula or a glass rod to achieve an even consistency prior to use.
• In order to establish a catalyst layer that is well-bonded to the electrolyte, anode ink applied electrolytes need to be sintered at 1300 °C for 1 hr (after the ink is gradually dried at 100 °C for 1 hr and then at 800 °C for 1 hr).
• If the intend is to make electrical connections to a current collector (mesh or wire), then the ink needs to be dried at 100 °C for 1 hr and then at 800 °C for 1 hr to have good bonding with the current collector mesh or wire.
• This ink can be used for screen printing for generating electrical connections for wire attachments.
Ensuring a solid connection between your electrodes and current collector is critical for obtaining good test results. Leveraging our experience in electrochemical testing, testing we have we offer the following suggestions for obtaining optimum results with our silver paste product.
 |
Step 1:
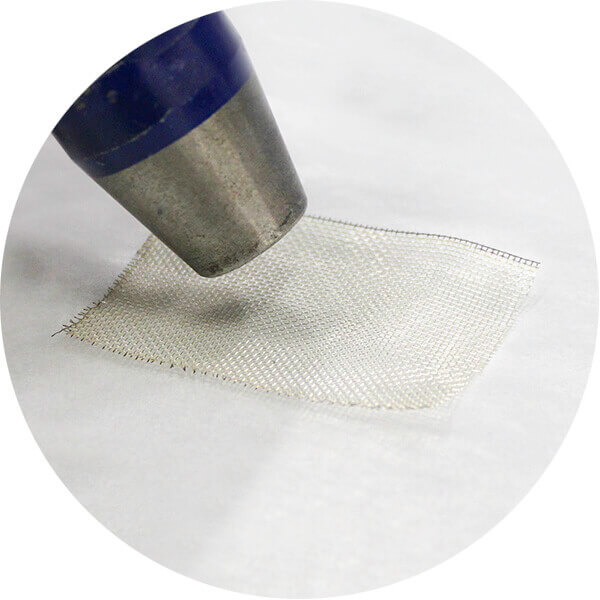
Cut or punch out the metal mesh to the size/area that you want to test on your sample. |
 |
Step 2:
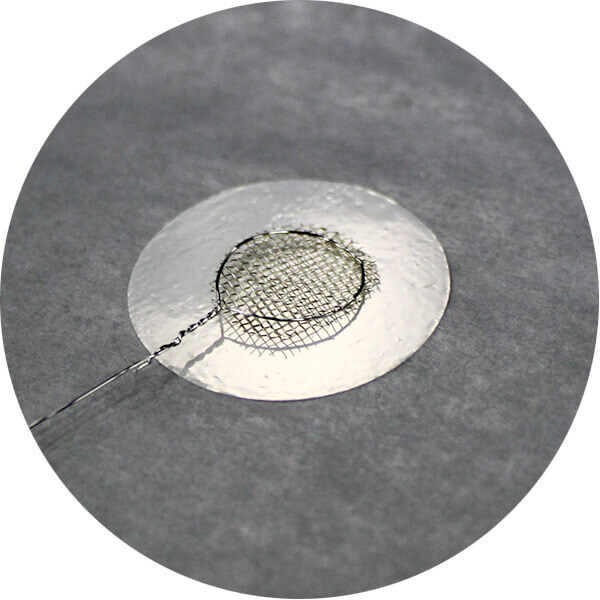
Cut the contact wire to the desired length, with a loop around the perimeter of the mesh with the wire extending past the sample. Place cut mesh in the center of your sample and the looped wire on top of wire mesh. |
 |
Step 3:
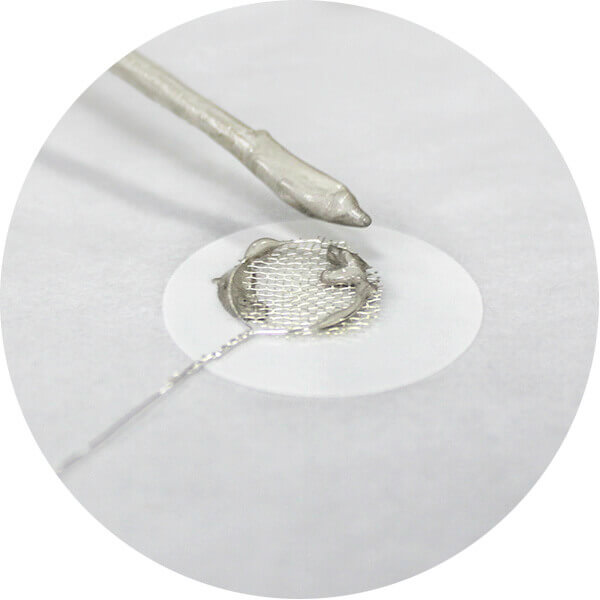
Apply the contact paste around the perimeter of the wire loop, apply a few drops across the mesh for best adhesion strength. |
 |
Step 4:
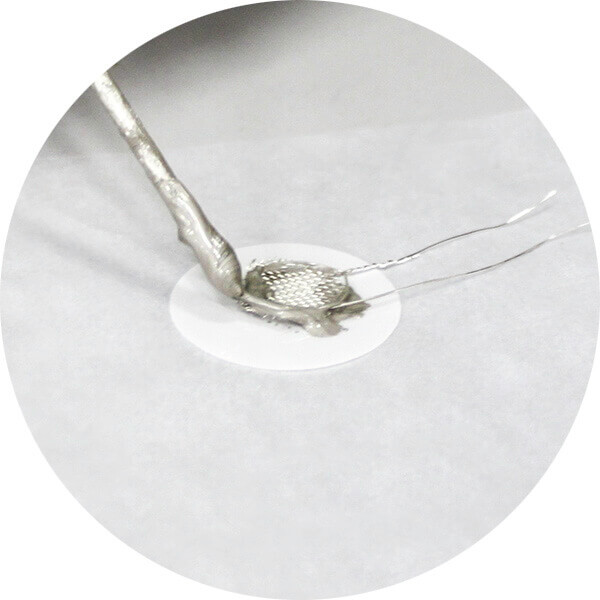
Cut and place a straight piece of wire next to the mesh on the sample. Again, cover with ink for adhesion. This will allow for 4 point conductivity testing and a lead for measuring voltage, while the other draws the current. |
|
|
Step 5:
Dry in a 100°C oven for an hour or until the ink looks dry. Repeat all steps on the opposite of the sample in the same area. |
|
Step 6:
Fire your sample to adhere your contact wires. Firing conditions: 1°C per minute to 800°C, hold for 1 hour, cool to room temperature sample in the same area. |
Write a review
Your Name:
Your Review: Note: HTML is not translated!
Rating: Bad Good
Enter the code in the box below:



 SOFC Nickel YSZ Anode Ink MSDS